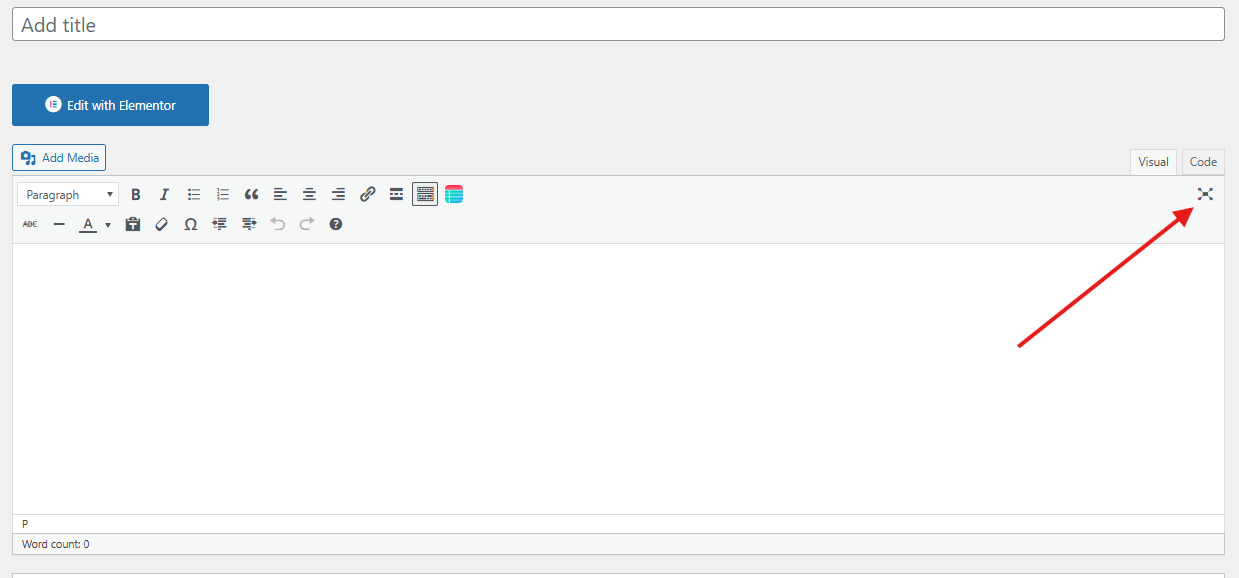
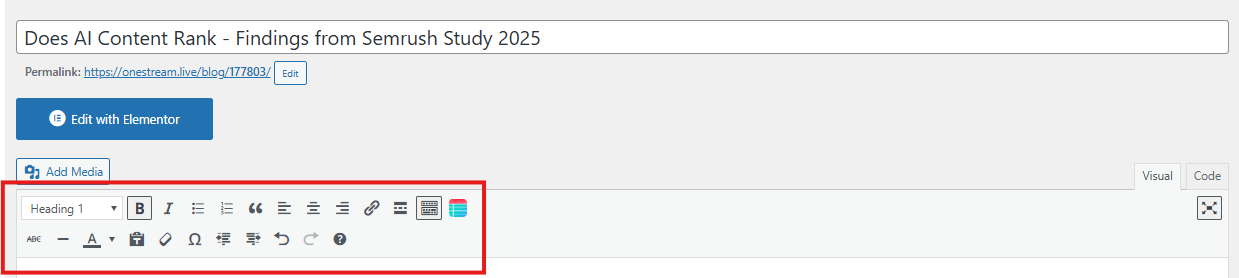
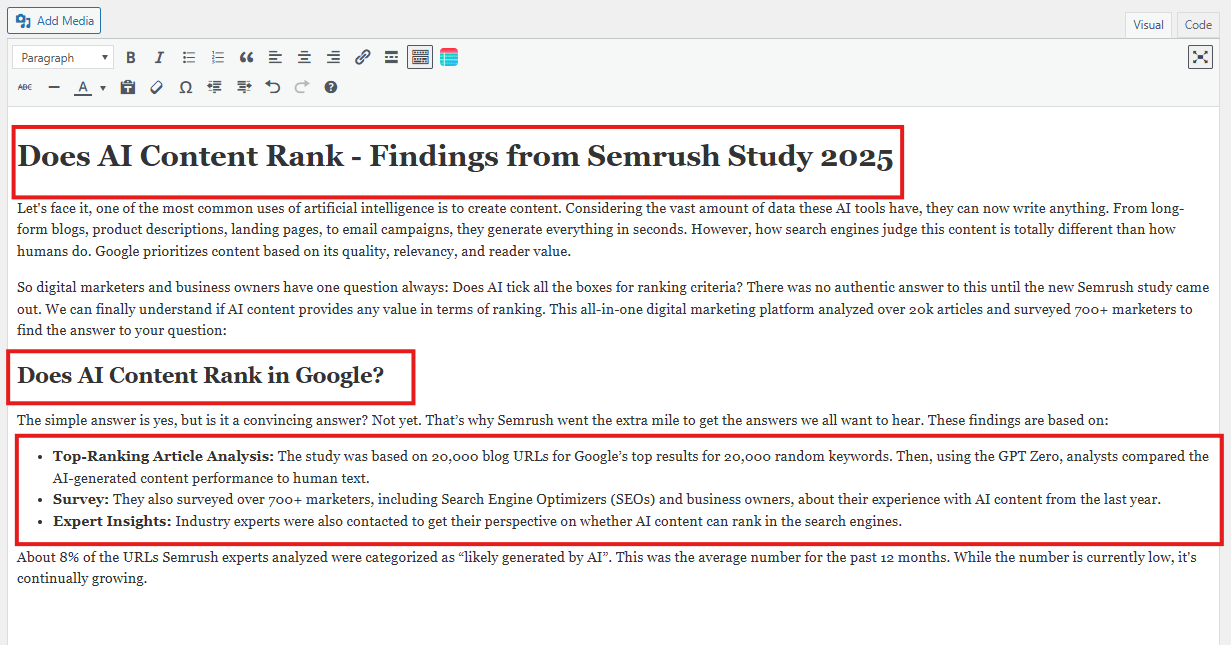
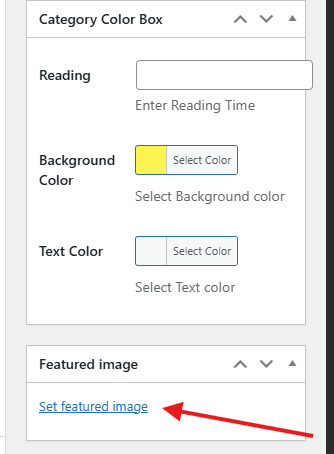
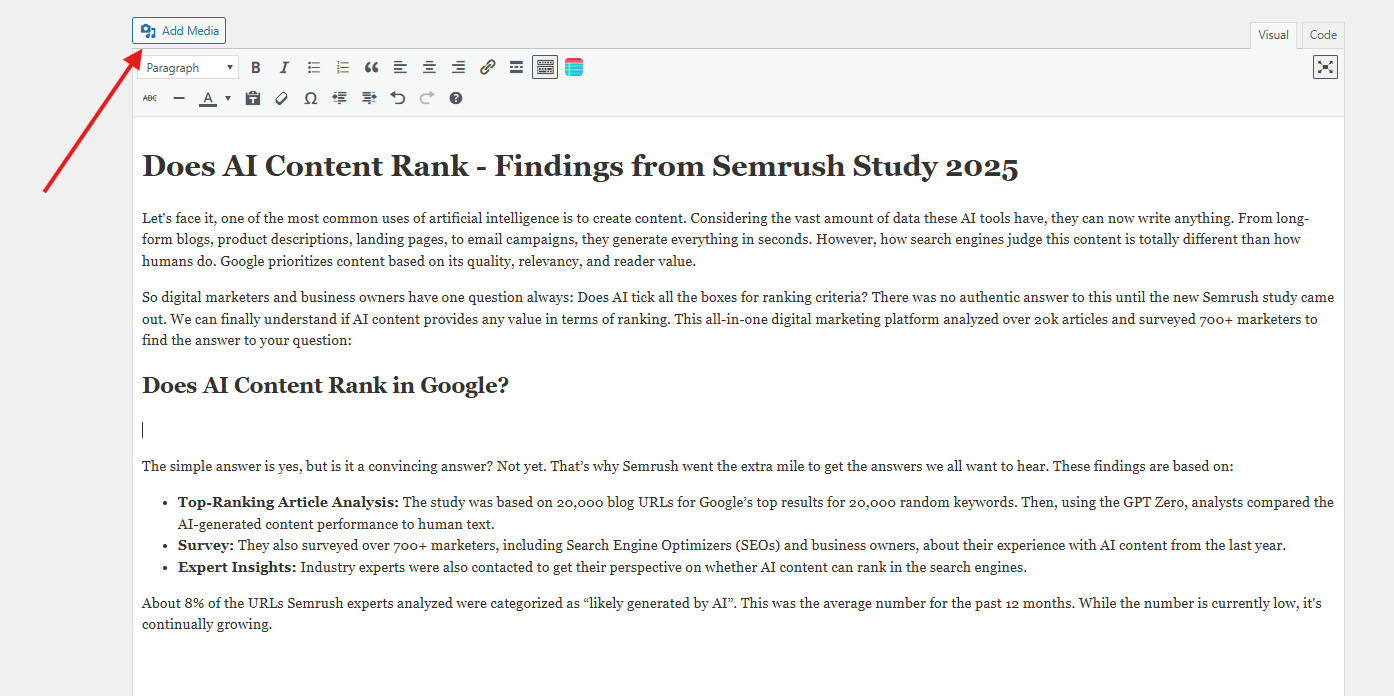
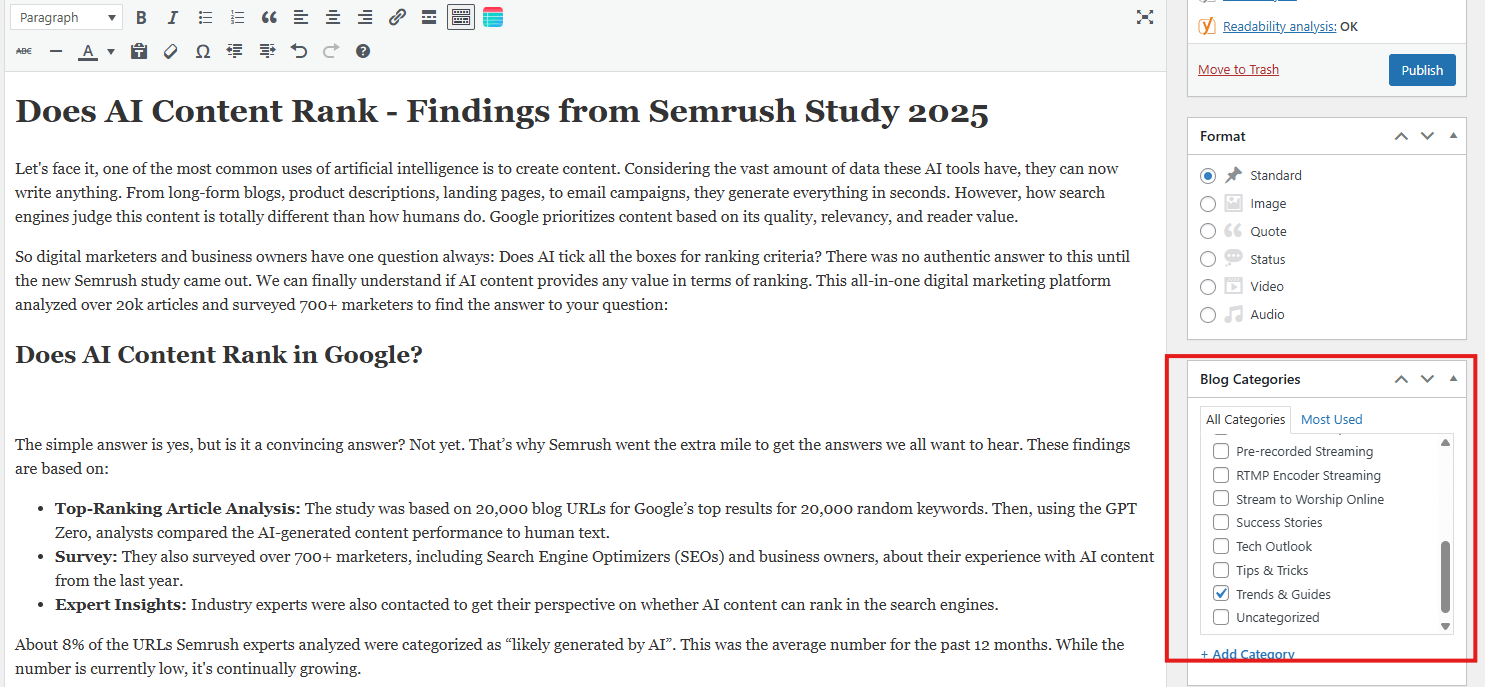
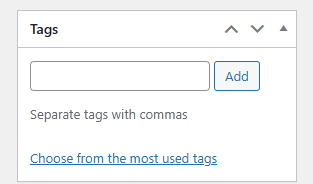
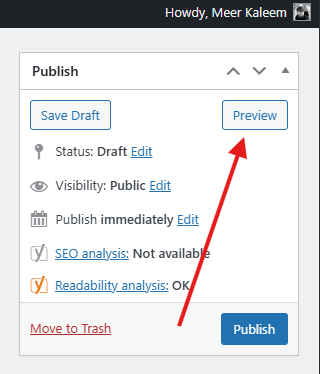
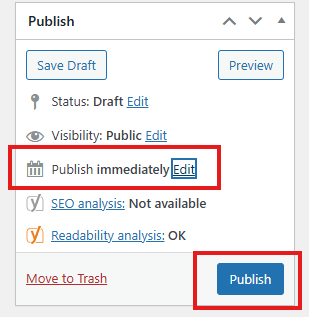
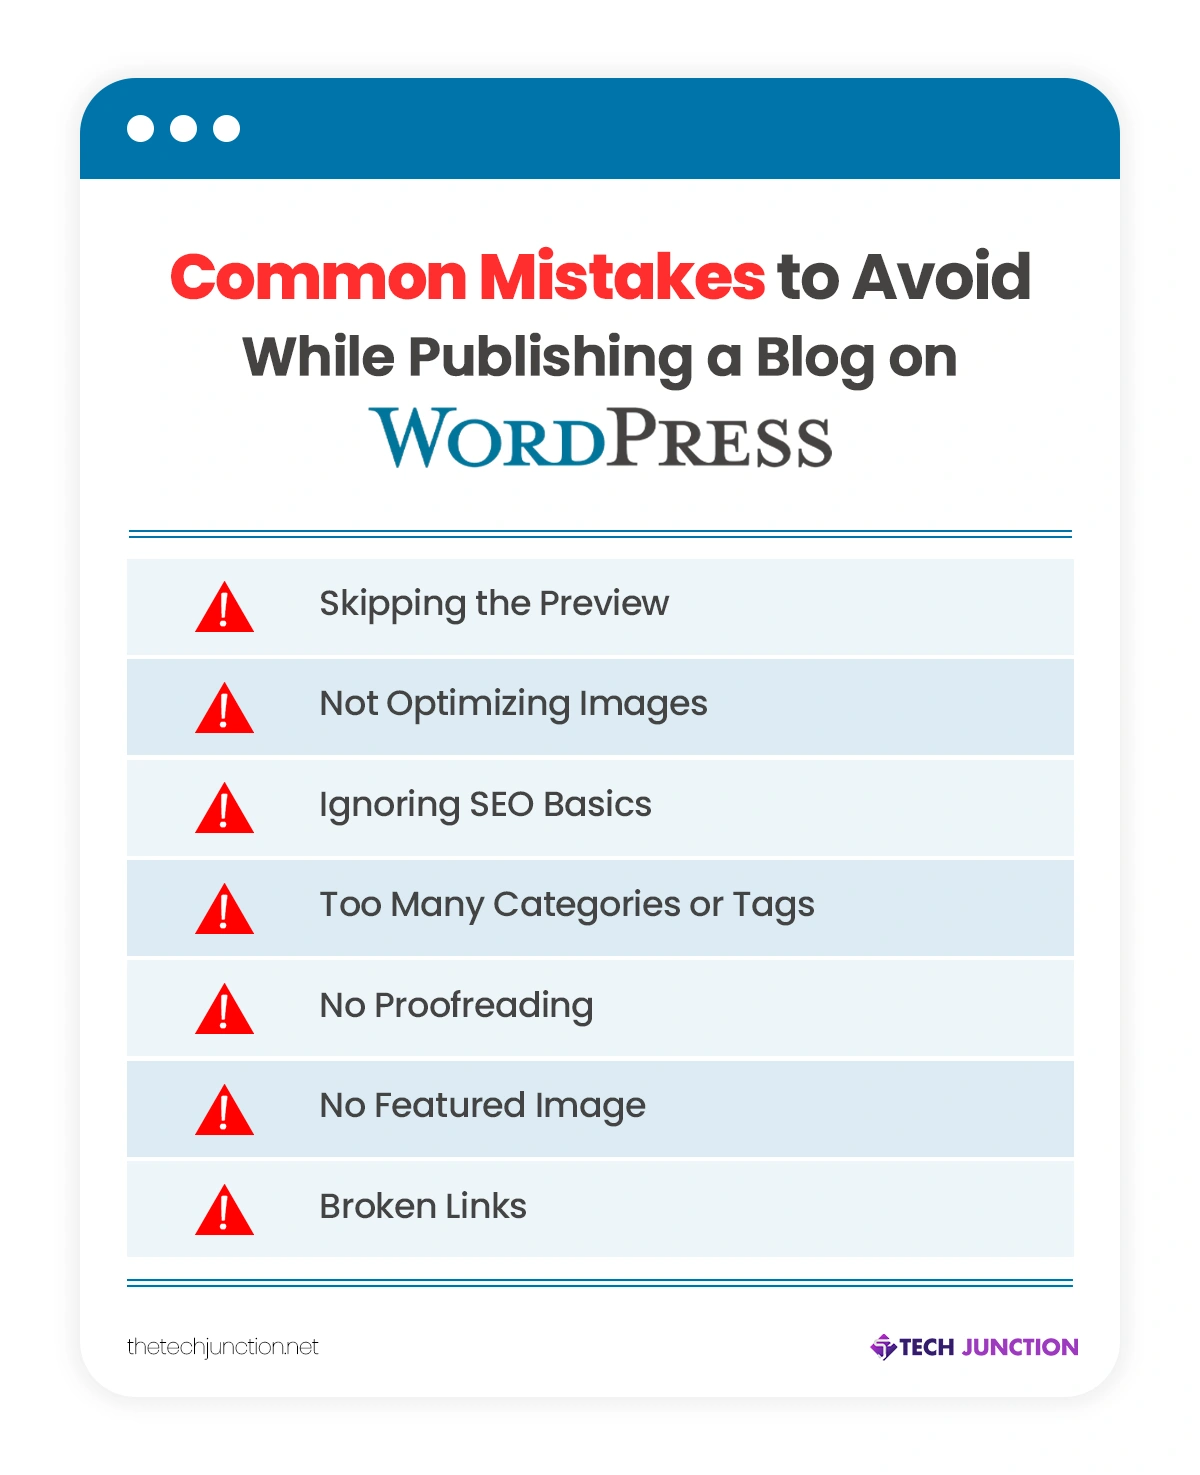
WordPress powers over 40% of the websites worldwide, and this makes it one of the most popular CMS (Content Management Systems). While the platform is preferred by everyone, it is a top choice for bloggers. If you’re a new blogger, you need to understand how to upload a blog to WordPress properly.
The room for mistakes can cost you in rankings, high bounce rate and poor retention rate. All those hours of blog writing can go in vain if it’s published incorrectly. In this guide, we’ll discuss all the important steps, along with the mistakes to avoid.
What You Need Before Uploading a Blog
Before you start creating the post, make sure you have these credentials so you don’t get stuck in the process:
Written Content: Your blog post drafted, edited and proofread. You can write a blog in WordPress directly, but it’s recommended to write it in a word processor to focus on quality without distractions.
Images and Files: Some blogs include images and files, as you’ll find in this one. If your blog includes images, make sure they are optimized for web use. For example, if your image is in PNG format, you can use any online tool to convert it.WebP (format designed for the web).
SEO Keywords: If you’re optimizing content for search engines, make sure you have a list of primary and secondary keywords so you can incorporate them into the content before it goes live.
WordPress Tags and Categories: See how your post fits into your site’s structure. Knowing categories and relevant tags and adding them to your post helps you with SEO and organization.
How to Create a Post in WordPress: Step-by-Step Process
Below is a straightforward guide you can follow to publish a blog on WordPress without errors.
1. Log in to Your WordPress Dashboard
First, open your website’s admin login page, which is typically like: http://yourwebsite.com/wp-admin, unless it’s changed by someone. Enter your username and password, and you’ll access the control panel where all the content management happens, like this:
2. Create a New Blog Post
Then, from the dashboard sidebar, hover over “Posts,” and you’ll get an option to “Add Post” like this:
Once you click add post, it will open the WordPress editor to build your post like this:
WordPress uses the Gutenberg block editor by default, but if you use any plugins like Elementor, then this interface could be different.
3. Add Blog Title and Content
Now it’s time to add your content. First, add the blog post title, which is your H1:
Then maximize the view by hiding the sidebar so you can stay focused by clicking here:
Also, make sure you have the “Visual” option selected to see the formatting options. You can adjust your WordPress post formats with built-in text editor options like heading tags (H2, H3, and H4), bullets, listicles and more from here:
After formatting, your content should look like this:
4. Add Images and Media
Visual content makes your content more engaging and helps you illustrate your points. First, you need to add the featured image, which acts as your article’s “Thumbnail/Cover” from the bottom right, like this:
To add an image within the content, click the “Add Media” option, as shown here:
You can then upload files from your computer, select from your media library, or insert images from a URL.
5. Set Categories and Tags
On the right sidebar, you’ll find the Post settings panel. Under Categories, select the category that best fits your blog post, like this:
WordPress categories are a built-in feature, and you can add categories yourself to ensure proper organization.
Tags
Tags help users find more relevant content from the blog post they’re currently reading. So adding relevant tags is recommended to improve user experience. You can add tags from here:
6. Optimize Blog for SEO
SEO helps your blog show up higher in search results. If you’re using a plugin like Yoast SEO or Rank Math, you’ll see extra options to make your post better for search engines.
- Permalink Structure: Click on your post title to see the permalink. That’s your URL. Edit it to make it short and clear. Add your main keyword in there. Get rid of words like “and,” “the,” or “a.” They don’t help.
- Meta Description: Write a short description that’s 150-160 characters. This shows up in Google search results. Make it interesting so people click on it. Put your main keyword in there, too.
- Focus Keyword: Put your main keyword into your SEO plugin. It’ll check your content and tell you what to fix or improve.
- Internal and External Links: Link to other posts on your own website. Also, link to good sources from other sites. This makes your content look more trustworthy. Plus, it keeps people reading more of your stuff.
7. Preview and Review the Blog
Preview and reread your drafted blog to find any mirrors or areas of improvement by clicking here:
8. Publish the Blog or Schedule
Once you’re done drafting the post, you have two options to publish the blog: publish immediately or schedule it for later from here:
- Publish Immediately: Click the Publish button to make your post live right away. You’ll need to confirm by clicking Publish a second time.
- Schedule for Later: If you want to publish at a specific date and time, click on the “Immediately” text next to Publish, then select your preferred date and time.
Common Mistakes to Avoid While Publishing a Blog on WordPress
New bloggers make mistakes that take away their chances to rank in search engines. Here are some common mistakes to avoid.
- Skipping the Preview: A lot of people hit publish without checking how it looks first. Then the formatting’s messed up, or images don’t show. Always preview your post on desktop and mobile before you publish.
- Not Optimizing Images: If you upload images with their actual (large) size, they’ll slow down the website and affect user experience. Make sure to compress all the images for fast loading for readers.
- Ignoring SEO Basics: Publishing the blog and ignoring the SEO basics that take a few minutes, like meta title, description and permalink, can hurt your ranking.
- Too Many Categories or Tags: Categories and tags definitely help, but overdoing them can confuse the search engines.
- No Proofreading: Typos make you look unprofessional. Read through your post or get someone else to check it before publishing.
- No Featured Image: Featured images show up when people share your post or see it in lists. If you skip this, your content looks boring.
- Broken Links: Links that don’t work annoy readers and hurt your SEO. Click on every link to make sure it goes where it should.
Conclusion
When publishing on WP becomes a daily routine, you get a pretty good hang of it. Prepare your content, log into your dashboard, optimize for SEO, and publish when you’re ready. Thats it, you have learned how to upload a blog on WordPress. Do it right, and you’ll have professional posts that people actually want to read and that help your website grow. Also, avoid the mistakes that we’ve discussed to prevent sending a negative signal to search engines.
FAQs About How to Upload a Blog on WordPress
1. How do I add a new blog post in WordPress?
Go to your WordPress dashboard → Posts → Add New, then write your title and content.
2. Should I use Posts or Pages for a blog article?
Use Posts for blog content that appears in your blog feed, and Pages for static site information, such as About or Contact.
3. Can you assign multiple tags to a WordPress post?
Yes, you can absolutely assign multiple tags to a WordPress post. In fact, using multiple tags is a common and recommended practice in WordPress.
4. How do I add images without slowing down my site?
Compress images before uploading and add them through the Image block so they load faster and look sharp.
5. How do I publish or schedule my WordPress blog post?
Click Publish to post immediately, or use the Schedule option in the publish settings to post it later automatically.
The Tech Junction is the ultimate hub for all things technology. Whether you’re a tech enthusiast or simply curious about the ever-evolving world of technology, this is your go-to portal.